
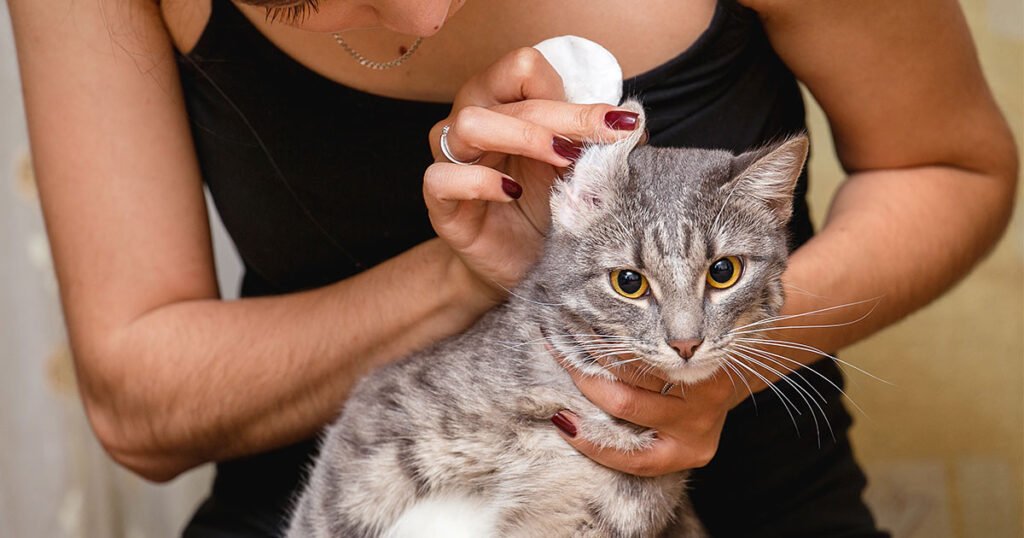
Cats are known for their independent nature and meticulous grooming habits. However, they occasionally require assistance in areas they cannot clean themselves, such as their ears. Regular ear cleaning is an essential aspect of feline hygiene, contributing to overall health and preventing potential medical issues. This article delves into effective cat ear cleaning tips that ensure your feline friend maintains optimal ear health.
Understanding the Importance of Ear Cleaning
Regular ear cleaning is not merely a cosmetic endeavor; it plays a crucial role in maintaining your cat’s health. Cats are prone to ear infections, mites, and wax buildup, all of which can lead to discomfort and serious health concerns if left untreated. By cleaning your cat’s ears regularly, you can prevent infections, detect potential problems early, and ensure their ears remain healthy.
Recognizing Signs of Ear Problems
Before delving into the cleaning process, it’s vital to recognize the signs of potential ear problems. These include:
- Frequent scratching of the ears
- Shaking of the head
- Redness or swelling inside the ear
- Unpleasant odor from the ears
- Black or yellowish discharge
- Visible wax buildup
If you notice any of these symptoms, consult a veterinarian before proceeding with ear cleaning, as these could indicate a more serious issue that requires professional treatment.
Choosing the Right Tools and Products
Selecting the appropriate tools and products is essential for effective and safe ear cleaning. Here are some recommended items:
- Cotton Balls or Pads: These are ideal for cleaning the outer ear and removing debris.
- Ear Cleaning Solution: Opt for a veterinarian-recommended solution specifically designed for cats. Avoid using hydrogen peroxide or alcohol as they can irritate delicate ear tissues.
- Tweezers: Used cautiously, these can help remove larger debris or foreign objects.
- Towel or Blanket: This helps keep your cat comfortable and secure during the cleaning process.
Step-by-Step Guide to Cleaning Your Cat’s Ears
Preparation
- Gather Supplies: Have all necessary supplies within reach before starting the process.
- Choose a Quiet Environment: Select a calm, quiet area where your cat feels comfortable and secure.
- Secure Your Cat: Wrap your cat snugly in a towel or blanket, leaving only their head exposed. This prevents sudden movements and keeps them calm.
Cleaning Process
- Inspect the Ears: Gently examine your cat’s ears for any signs of redness, swelling, or discharge. If you notice anything unusual, consult a veterinarian.
- Apply Ear Cleaning Solution: Squeeze a few drops of the ear cleaning solution into the ear canal. Be careful not to insert the nozzle too deeply.
- Massage the Base of the Ear: Gently massage the base of the ear for about 20-30 seconds. This helps loosen any wax or debris, making it easier to remove.
- Wipe Away Debris: Use a cotton ball or pad to gently wipe away any debris and excess solution from the outer ear. Avoid inserting anything deep into the ear canal.
- Repeat: If necessary, repeat the process on the other ear.
Post-Cleaning Care
- Reward Your Cat: Offer a treat or praise to make the experience positive and reinforce good behavior.
- Monitor for Reactions: Keep an eye on your cat for any signs of discomfort or adverse reactions after cleaning. If you notice anything unusual, contact your veterinarian.
Frequency of Ear Cleaning
The frequency of ear cleaning depends on your cat’s individual needs. Some cats require more frequent cleanings due to wax buildup, while others may only need occasional maintenance. Generally, cleaning your cat’s ears once a month is sufficient for most cats. However, consult your veterinarian for personalized advice based on your cat’s health and lifestyle.
Preventing Ear Problems
In addition to regular cleaning, there are several measures you can take to prevent ear problems in cats:
- Regular Vet Check-ups: Routine veterinary visits can help detect and address ear issues before they become serious.
- Monitor for Allergies: Allergies can contribute to ear problems. Keep an eye out for signs of allergies, such as excessive scratching or redness, and consult your veterinarian if necessary.
- Maintain a Clean Environment: Ensure your cat’s living environment is clean and free from dust or irritants that could affect their ears.
- Proper Grooming: Regular grooming, including brushing, helps reduce the risk of ear problems by minimizing debris and hair buildup around the ears.
Conclusion
Maintaining your cat’s ear health is a vital aspect of their overall well-being. By understanding the importance of ear cleaning, recognizing signs of potential problems, and following the proper cleaning techniques, you can ensure your feline friend enjoys optimal ear health. Remember to consult your veterinarian for personalized advice and to address any concerns about your cat’s ears. With regular care and attention, your cat’s ears will remain clean, healthy, and free from discomfort.